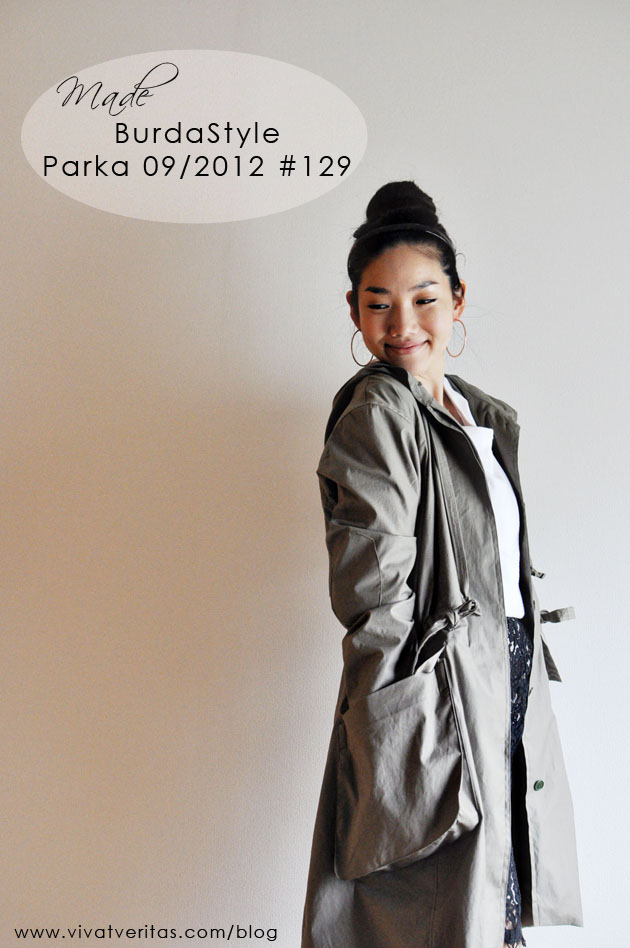
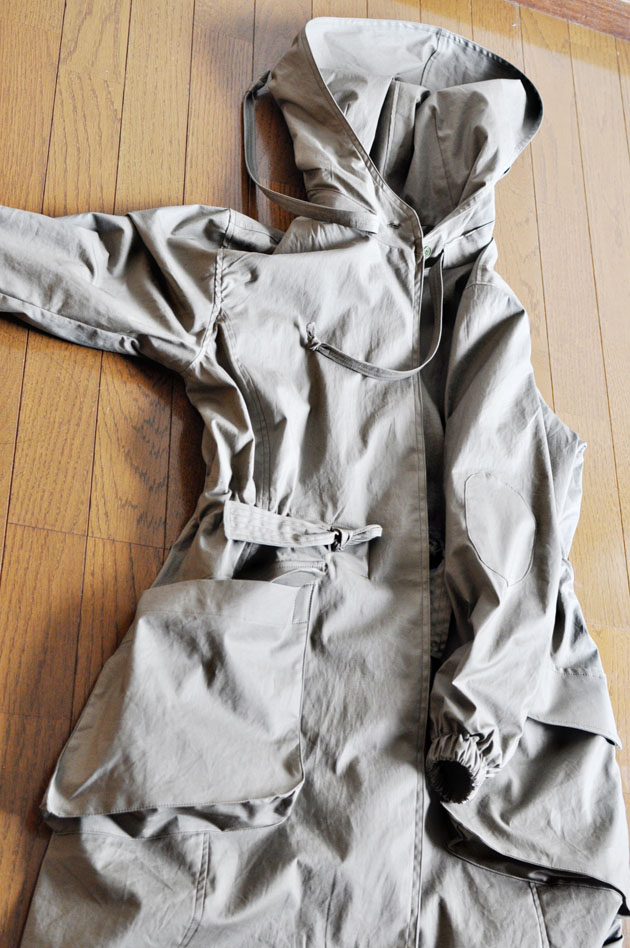
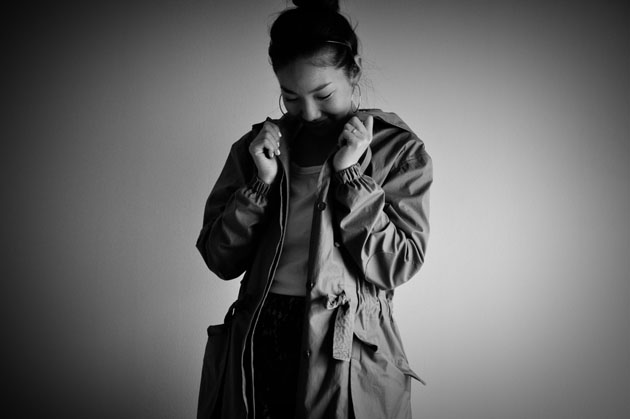
 My new parka is ready for just in time for the coming cold! I’ve been wanting to make a parka since I realized I did not have a single item in Khaki color in my closet. I was deciding between this military jacket and BurdaStyle 09/2012 #129, but finally decided to go for the version with a hood.
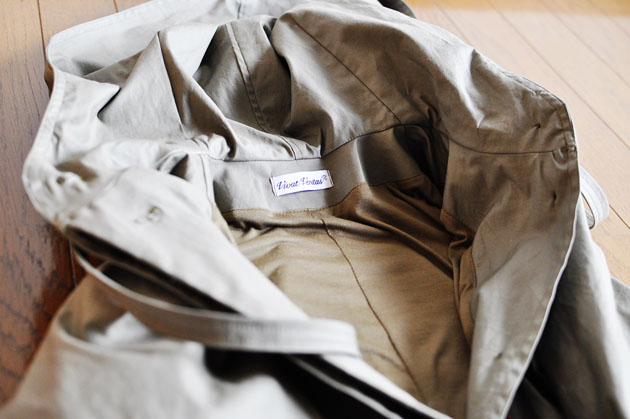
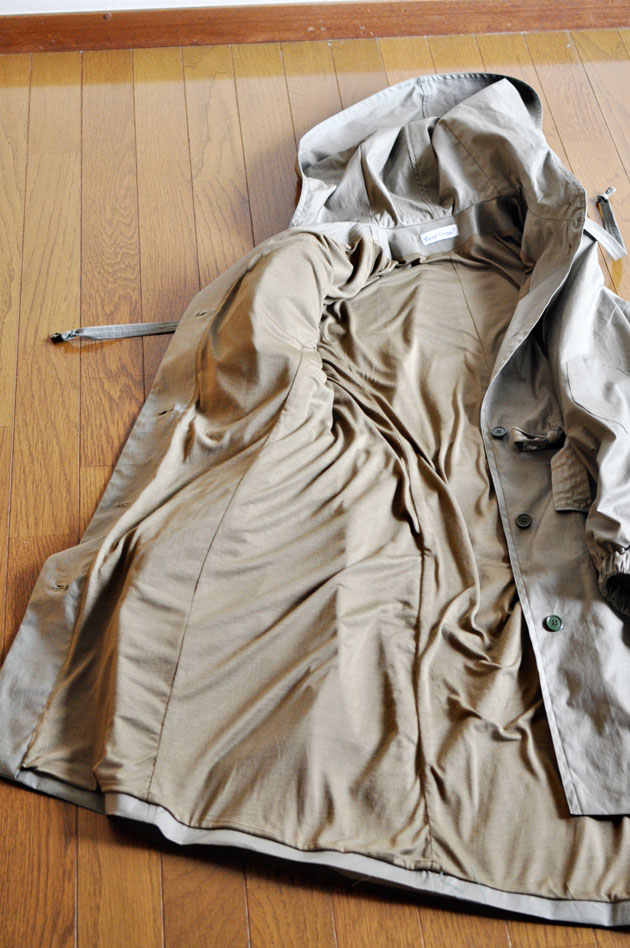
Guess what, how much it cost to make this parka? 700 yen! That’s about 5 USD in today’s conversion. I bought 4 meters of khaki fabric, 2 meters of knit for lining, and 1 meter for sleeve lining all at Nippori Tomato. I had interface and buttons already. The material was cheap, but it took me about 10 hours to finish. BurdaStyle is notorious for confusing sewing instructions and this parka was no exception, unfortunately. Many of the instructions didn’t make sense. So, I had to use my gut instinct. I do not recommend this pattern for a sewing beginner. It has details like bellows pocket, fly front and button holes.
 Here is some pattern review.
Size: I cut the smallest size, size 36.
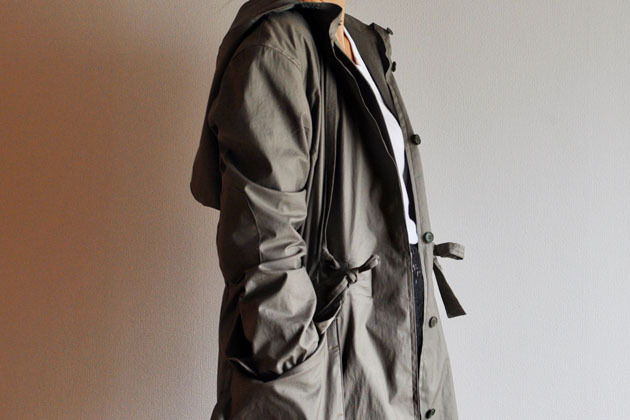
Modifications: I read on BurdaStyle member project that she slimmed the sleeves a bit so I did the same. I took in about 10cm all around arm. I am glad I did this since even after the modification, the parka has plenty of room for laying.
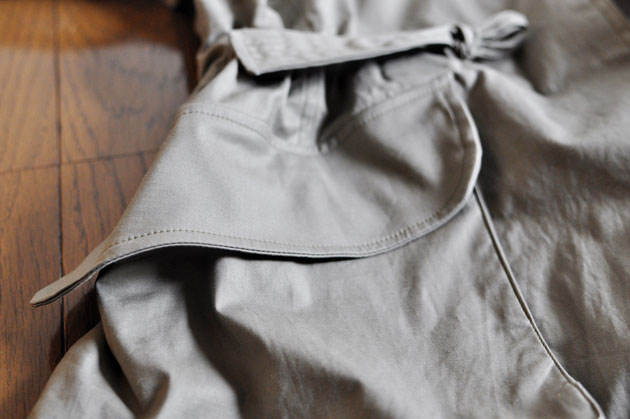
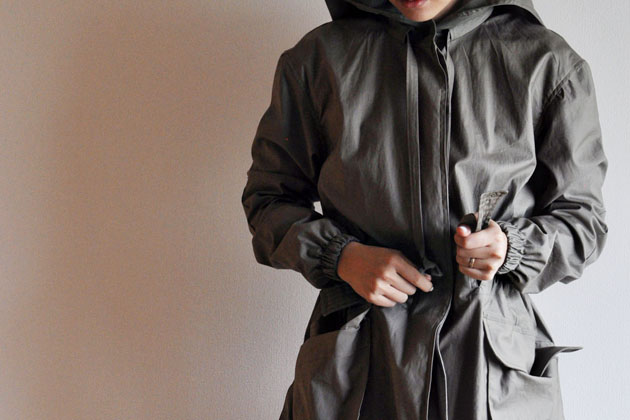
What I love: The pockets. They are great. They fit a wallet, water bottle, iPhone, snacks… so many things. If I don’t feel like carrying my purse, I can just go out with this Parka.
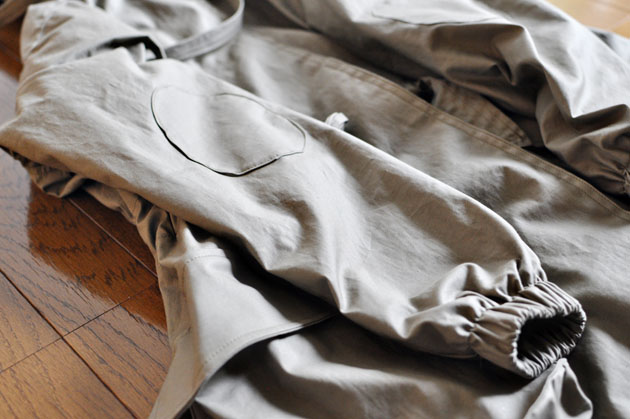
What I would change: I found the elbow patch kind of unnecessary. If I were to do it, I might do it in leather or some other fabric with different texture.
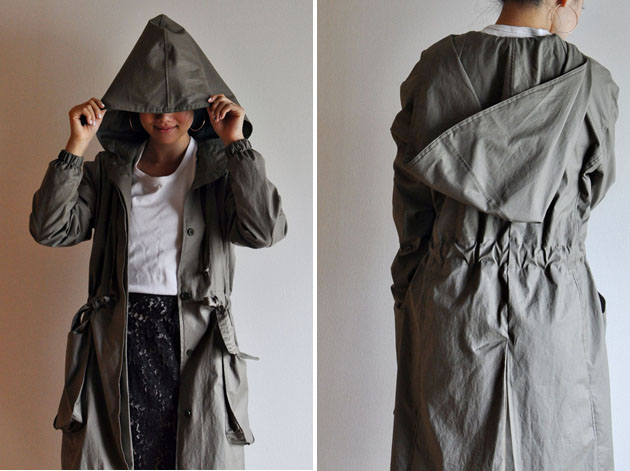
I also hated the back vent. It’s slightly curved and it looks weird. The back hem itself has a slanted design, which I am not a huge fan of. I would modify it to have the straight hem.
I have something to say about the hood too. It is way too big to be functional. It covers your entire face so you can’t see what’s in front of you! I would definitely make it smaller next time.
Some fun variation ideas: Add some fur around the edge of the hood for some winter proof variation? Or use some kind of fluffy fabric for lining (except for sleeves). It might also be nice to add some breast pockets for additional details. Finally, replace the buttons with zipper.
Next up… I’m making a blue lace dress to wear to my friend’s wedding!

 秋から冬への変わり目のシーズン用に、パーカを作りました。
型紙は、BurdaStyleのこちら。
PDFでダウンロード出来ます。が!50枚近くプリントし、貼り付けるのは結構な作業。
コート系は何度か作ったことがあったので(去年はこれを作りました)、なんとか仕上げましたが、本当に型紙の指示書がいけてないです。
わからなすぎ。。。
指示書は当てにしないことをお勧めします笑
 Find me elsewhere:


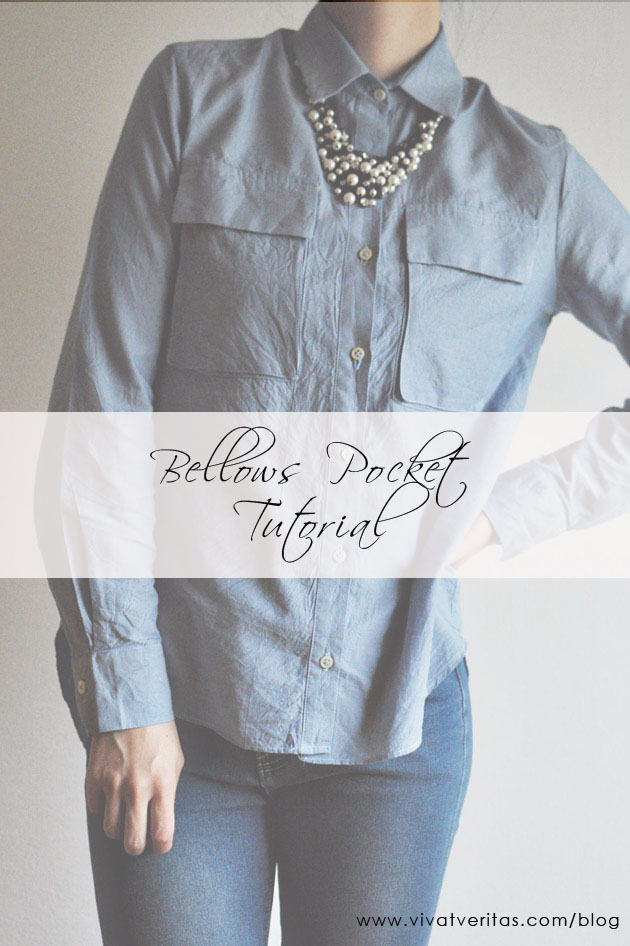 The last time I made a
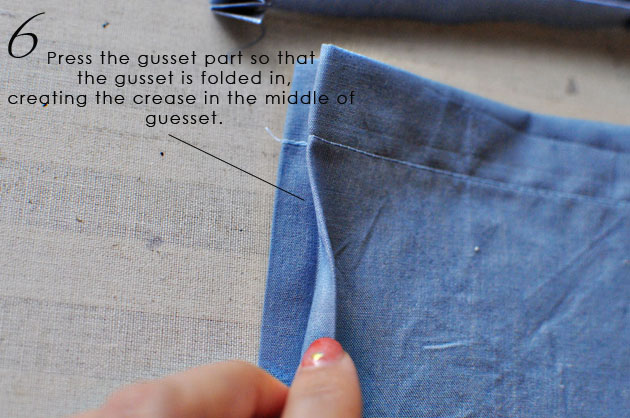
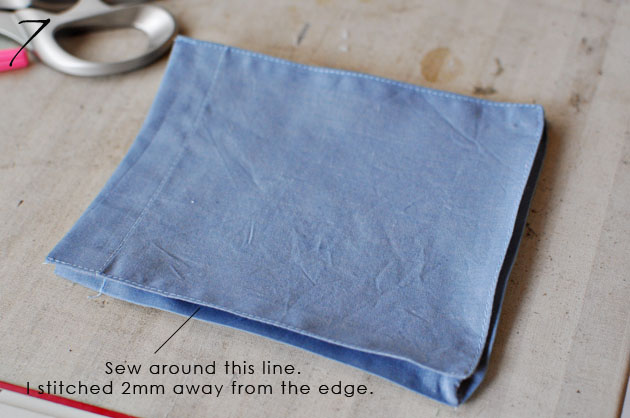
 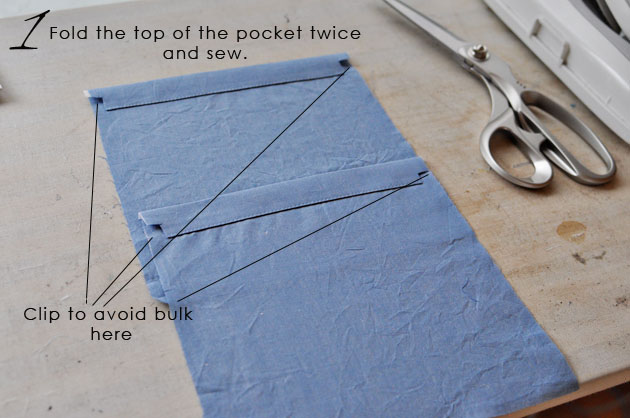 First you need to modify the pattern. Start with pocket pattern without any seam allowances on the sides and bottom. You can keep the top seam allowances as they are (usually folded over twice) but make sure to clip as pictured above to avoid bulk. For sides and bottom, first add for “gusset” width. I added 3cm all around. Then add 1cm seam allowances, so you will be adding 4cm around on sides and bottom.
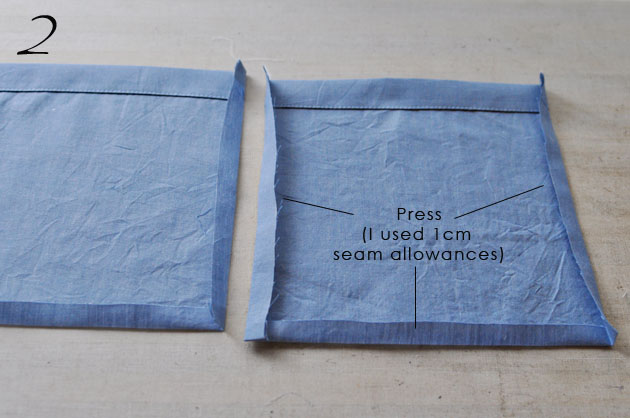
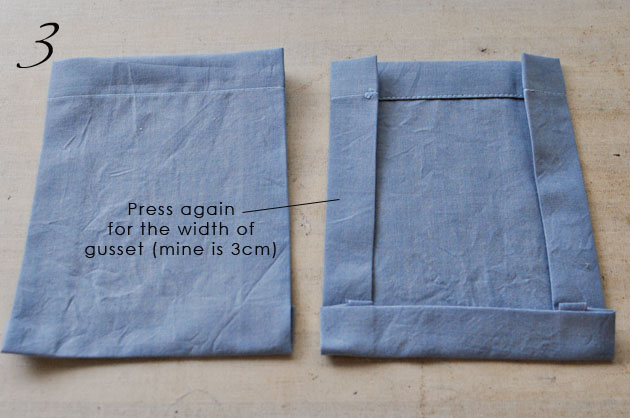
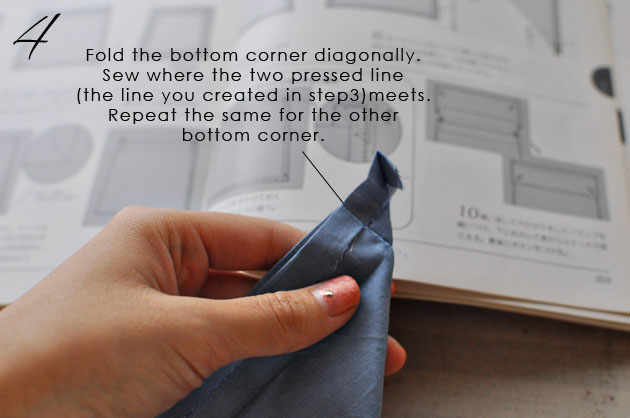 Here is the tricky part. Fold the bottom corner diagonally, meeting the pressed line you made in step 3. It’s similar to making a
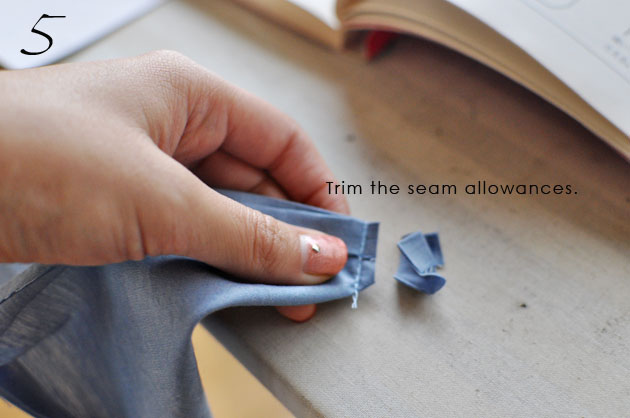
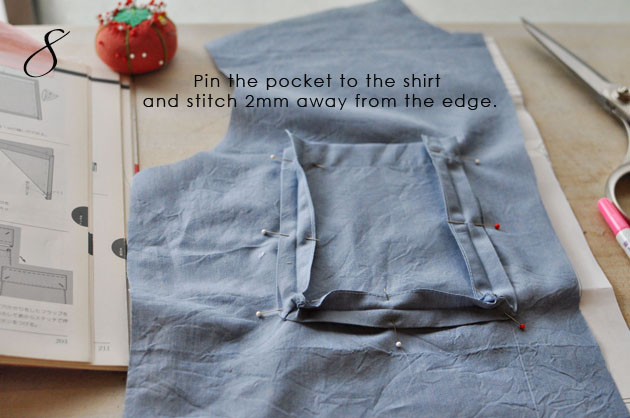 Before you pin the pocket to the shirt, I would transfer the line for pocket placement with a tailor’s chalk so you will know exactly where to place the pocket.
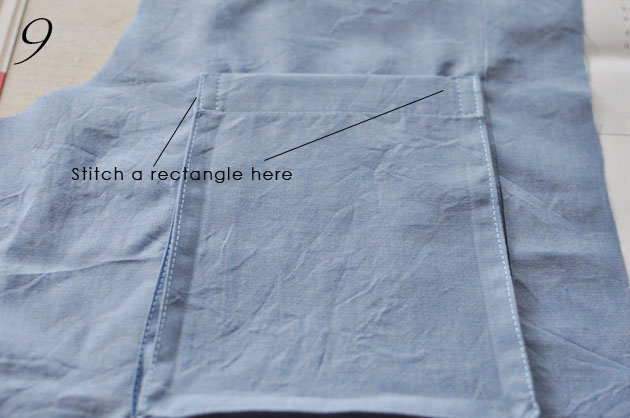
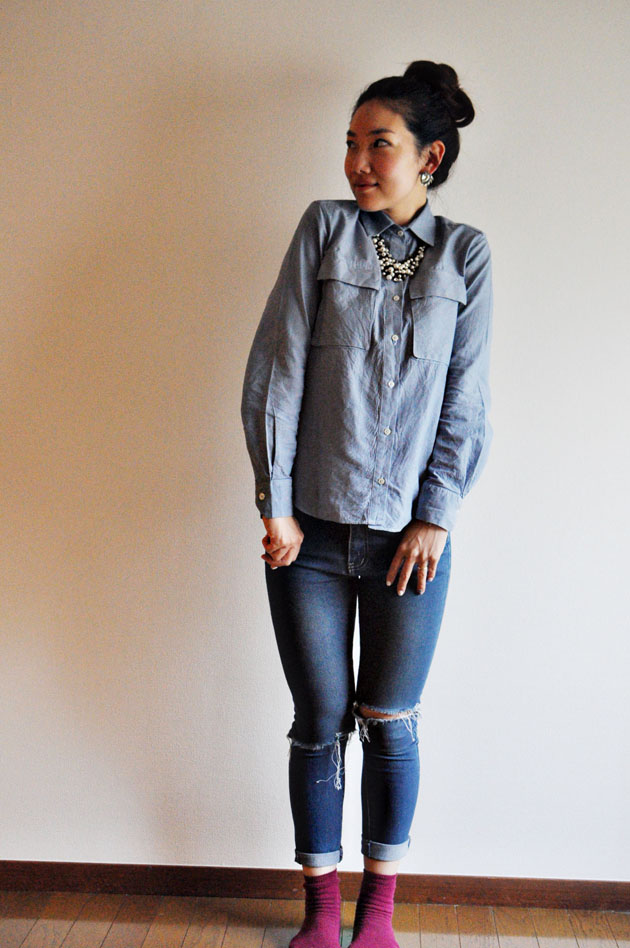
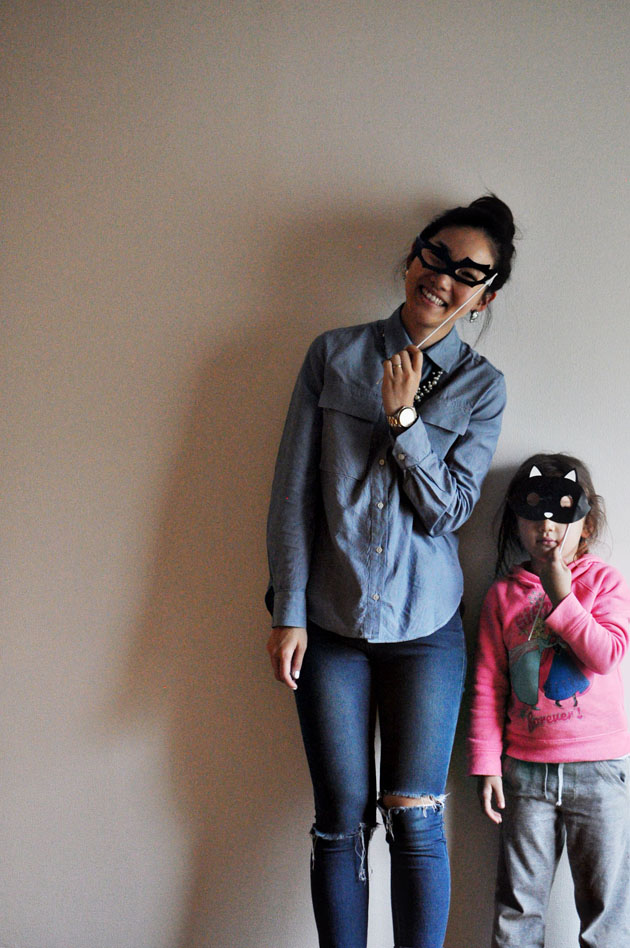
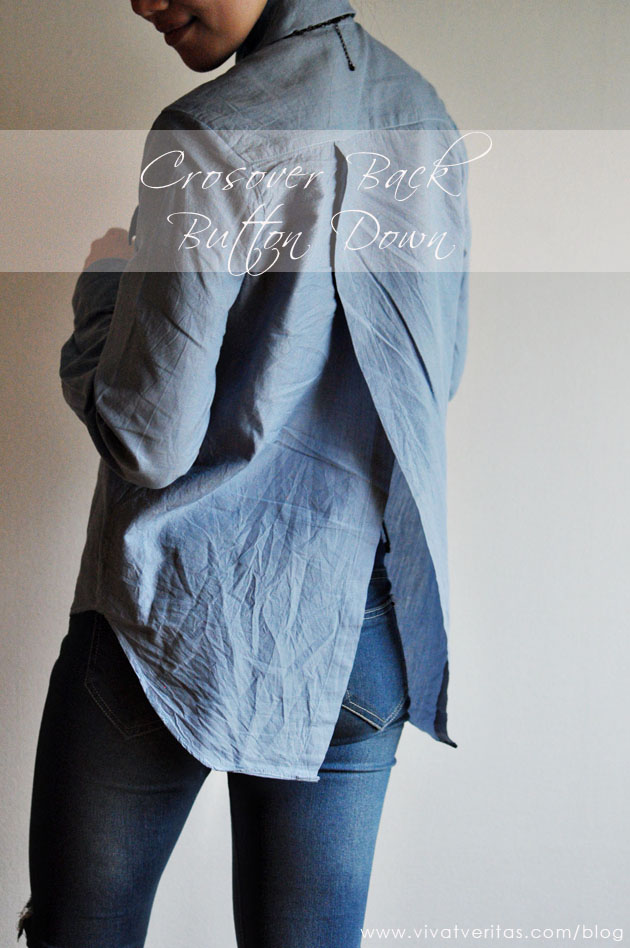 I bought two meters of chambray fabric at Nippori Tomato during the Summer, thinking of making a dress shirt for Andy. After my failed attempt (talked about
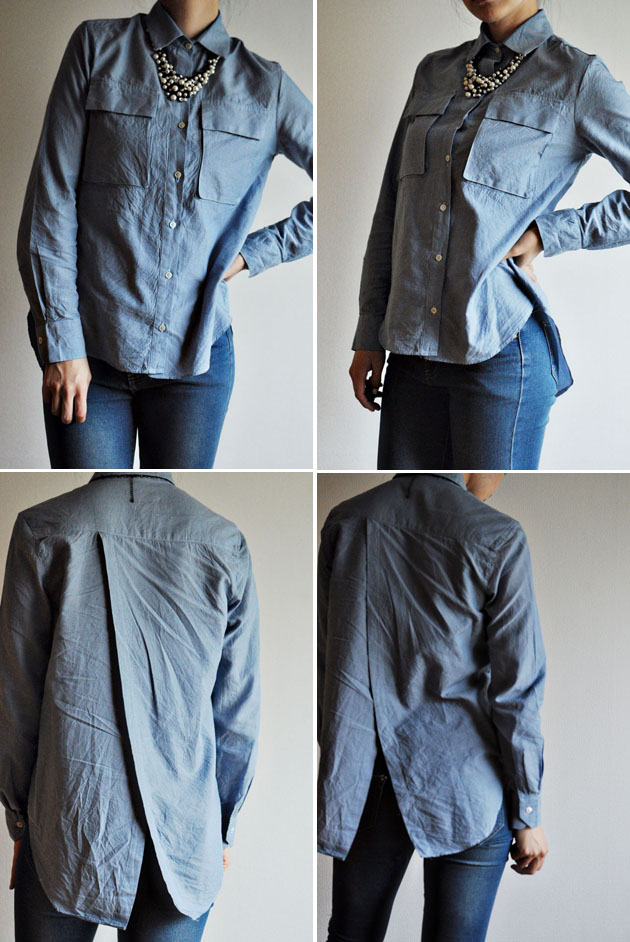 The adjustment is easy, as described below. Instead of making the center front folded, the back panel separated in two. I added 5cm in center back, and using curved ruler, cut slightly curved line toward the hem. I also lengthen the hem by about 7cm. I folded the hem twice the center back, crossed over and attached to back yoke.
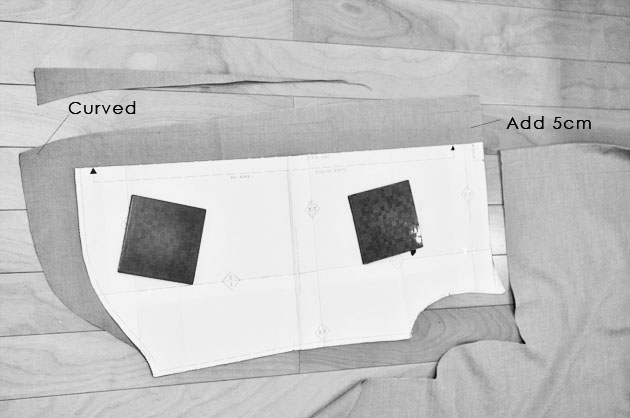
 Another modification I made was the pockets. I experimented with the pocket flaps in the past in my