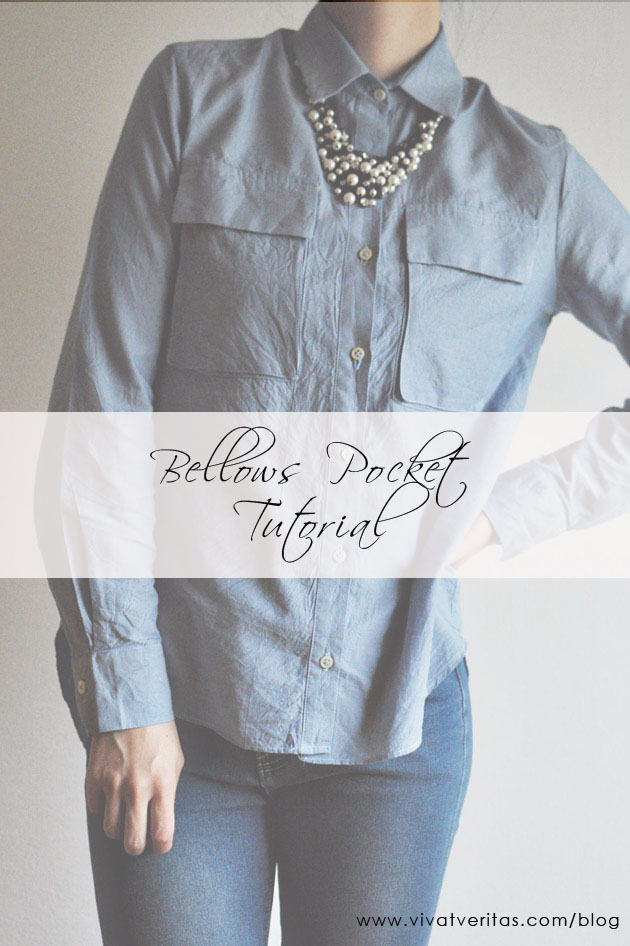
 The last time I made a chambray Archer button up, I modified the original pockets to bellows pockets with flaps. This was my first attempt to make bellows pockets and was surprised how easy they were. You just need to be precise with the measurements and pressing, and the rest come together nicely. I like bellows pockets for the functionality (my iPhone fits in my pocket easily!) and sporty vibe. I took some photos while sewing and here is a quick tutorial on how to make them.
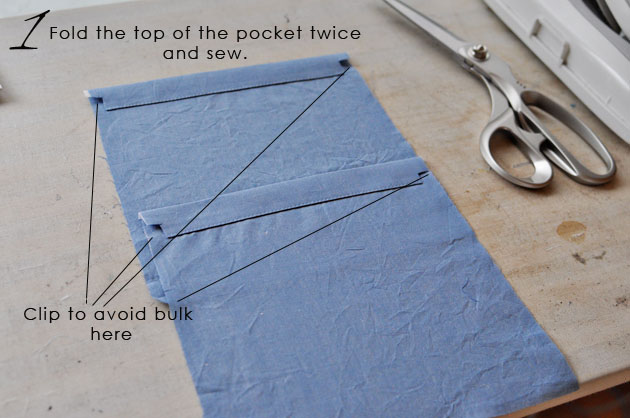 First you need to modify the pattern. Start with pocket pattern without any seam allowances on the sides and bottom. You can keep the top seam allowances as they are (usually folded over twice) but make sure to clip as pictured above to avoid bulk. For sides and bottom, first add for “gusset” width. I added 3cm all around. Then add 1cm seam allowances, so you will be adding 4cm around on sides and bottom.
Fold the top twice, press well and stitch.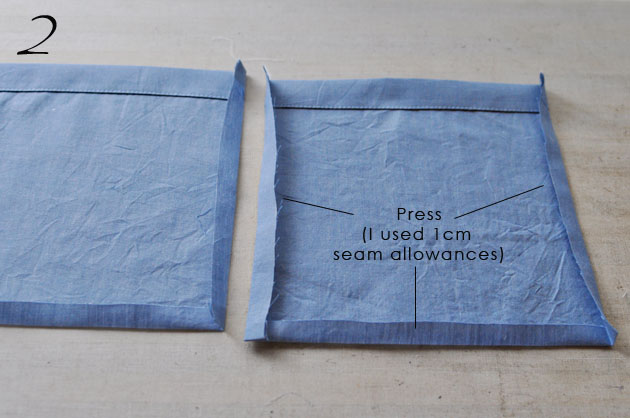
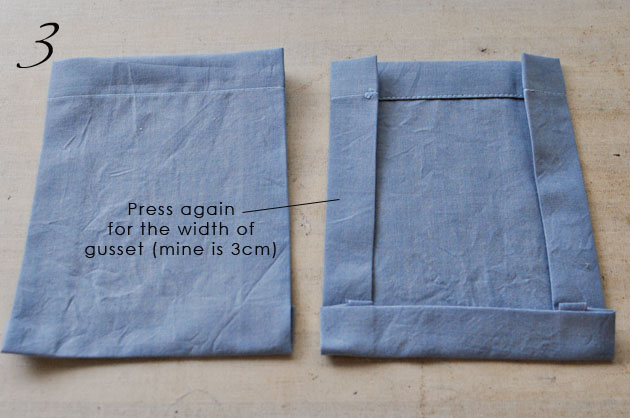
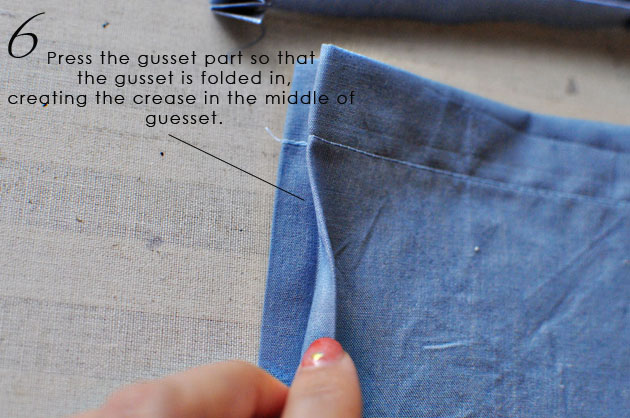
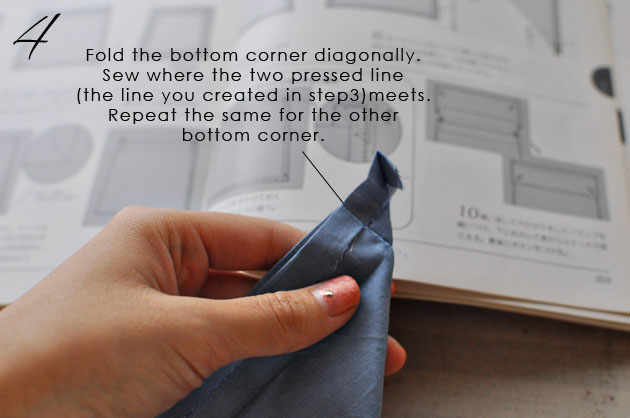 Here is the tricky part. Fold the bottom corner diagonally, meeting the pressed line you made in step 3. It’s similar to making a mitered corner.
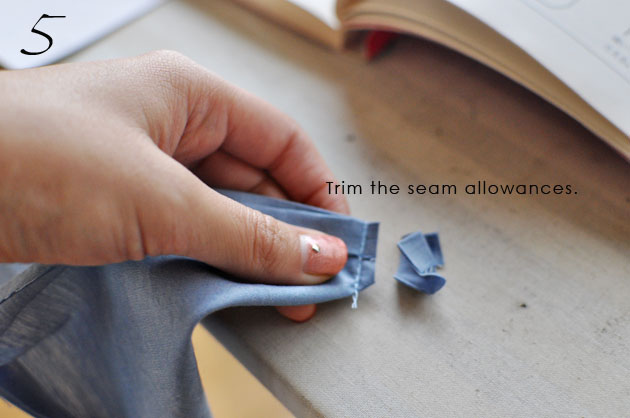
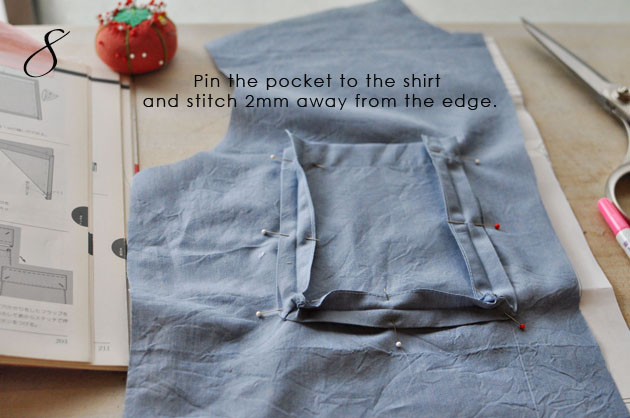 Before you pin the pocket to the shirt, I would transfer the line for pocket placement with a tailor’s chalk so you will know exactly where to place the pocket.
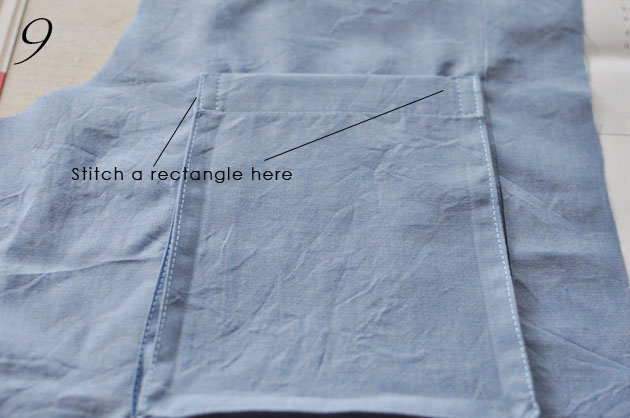
Like this tutorial?
Check out the tutorial on how to sew bluff-stitched patch pocket.これは帯を別布にするのではなく、1つのポケット生地として裁断するやり方です。
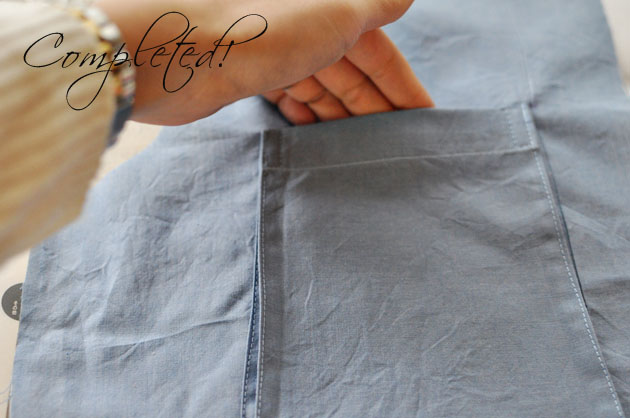
アイロンをきちっとすると、意外と簡単に、綺麗にできます。
ちょっとスポーティ感をプラスしてくれるポケットなので、色々なアイテムにつけてアレンジできそうです。
 I bought two meters of chambray fabric at Nippori Tomato during the Summer, thinking of making a dress shirt for Andy. After my failed attempt (talked about
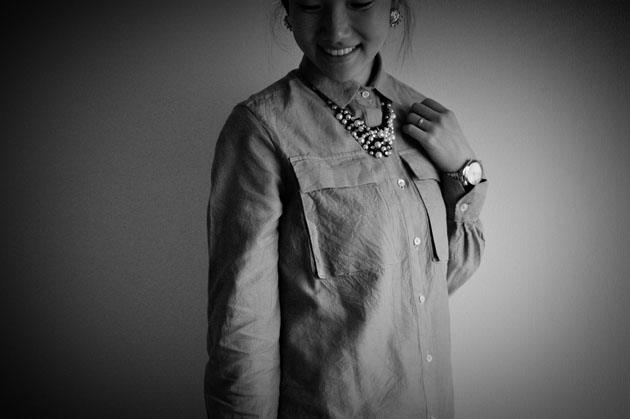
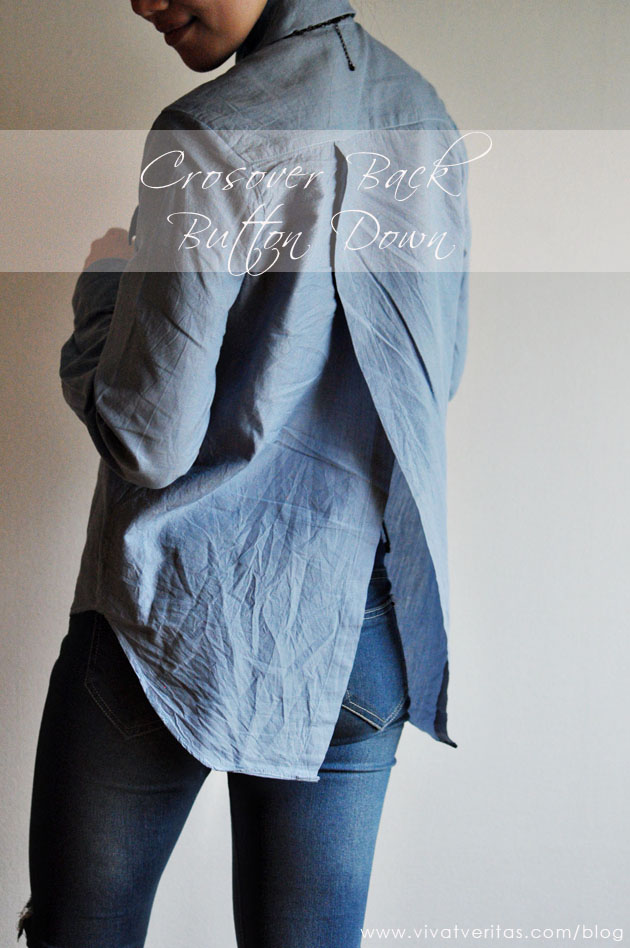
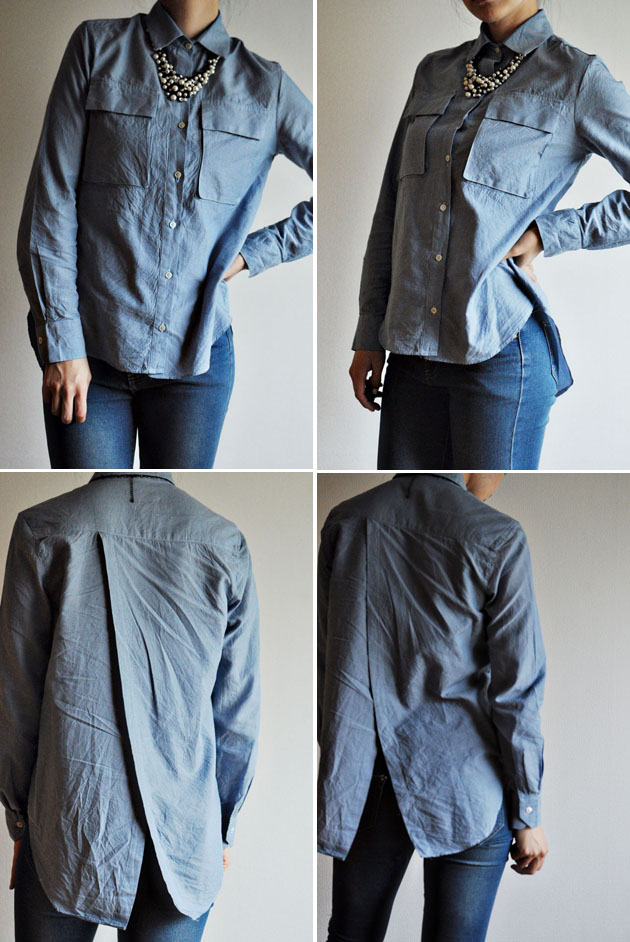 The adjustment is easy, as described below. Instead of making the center front folded, the back panel separated in two. I added 5cm in center back, and using curved ruler, cut slightly curved line toward the hem. I also lengthen the hem by about 7cm. I folded the hem twice the center back, crossed over and attached to back yoke.
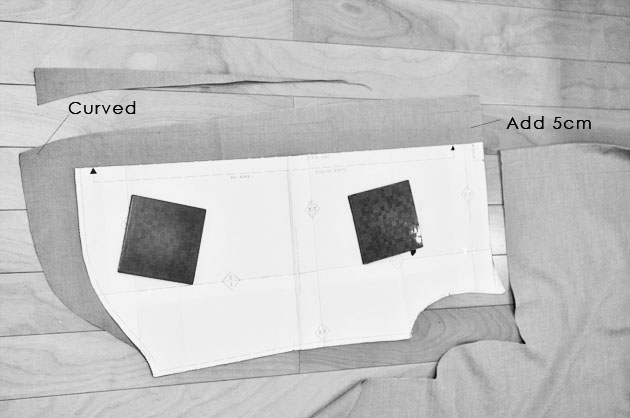
 Another modification I made was the pockets. I experimented with the pocket flaps in the past in my


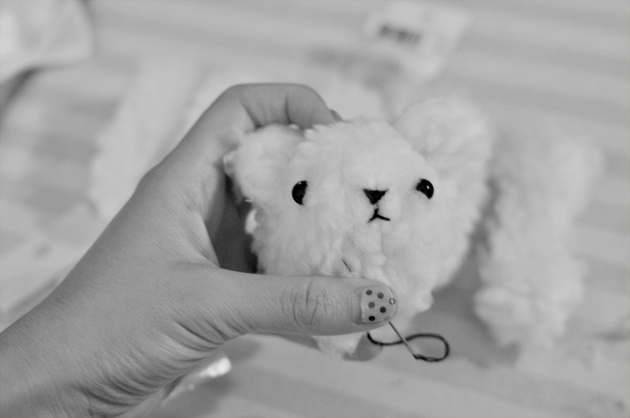
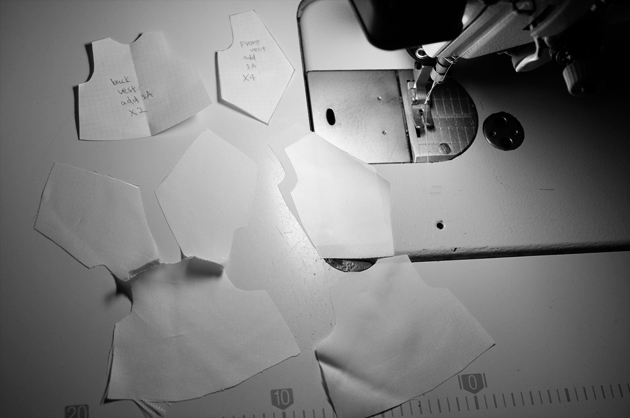
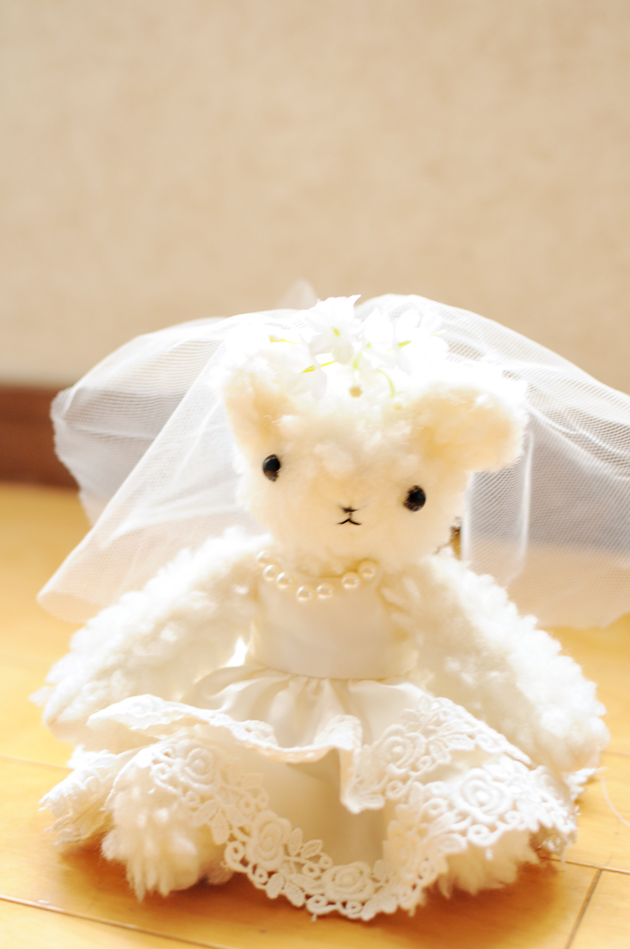
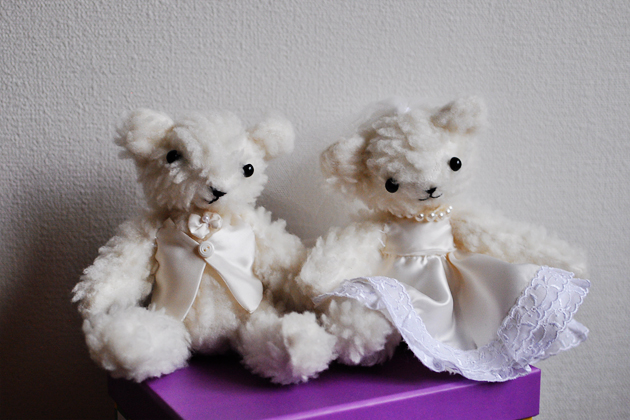
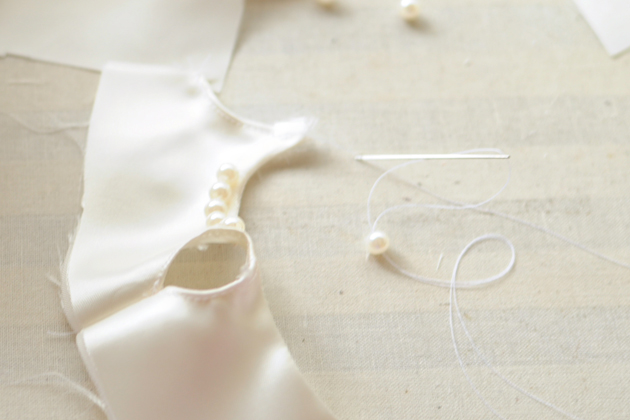
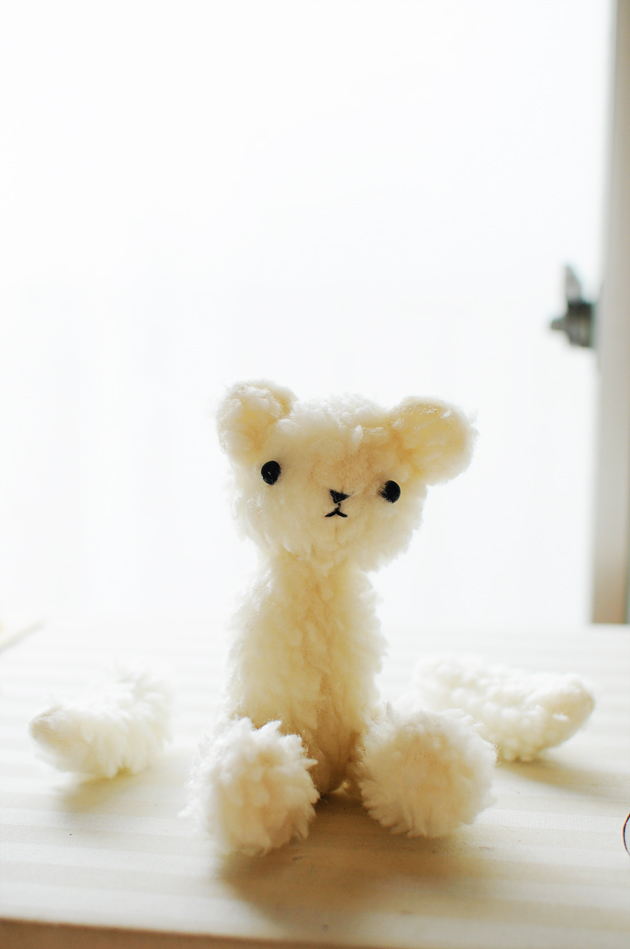 The most fun part of this project was to make tiny dresses and vests! So fun. It reminded me of my childhood days when I was obsessed with my dolls (mine was called Jenny) and her dresses that my mom made. I just used left over satin and laces that were laying around.
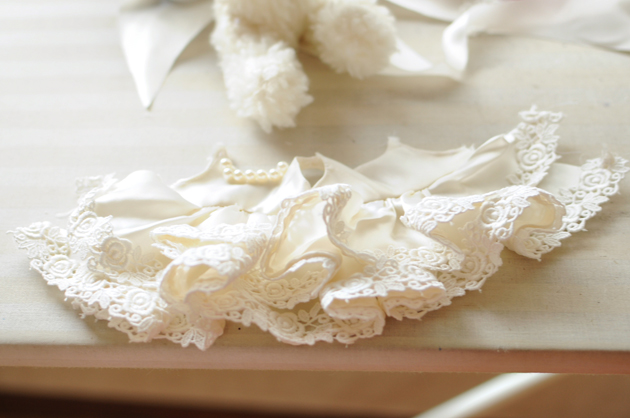
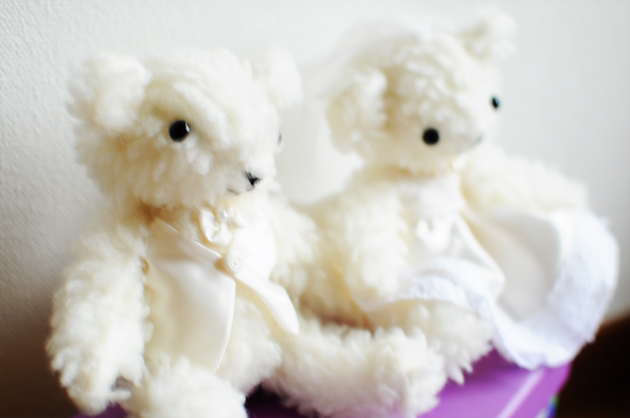
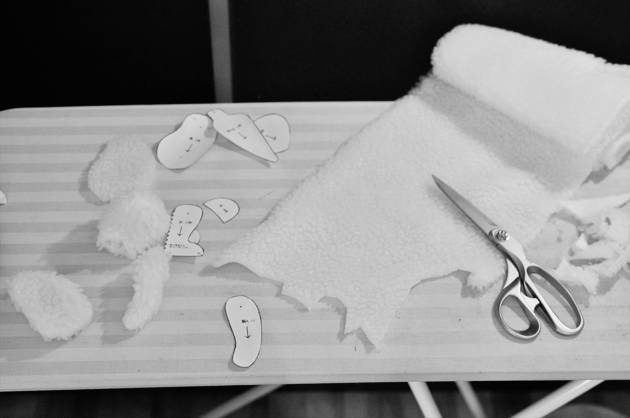
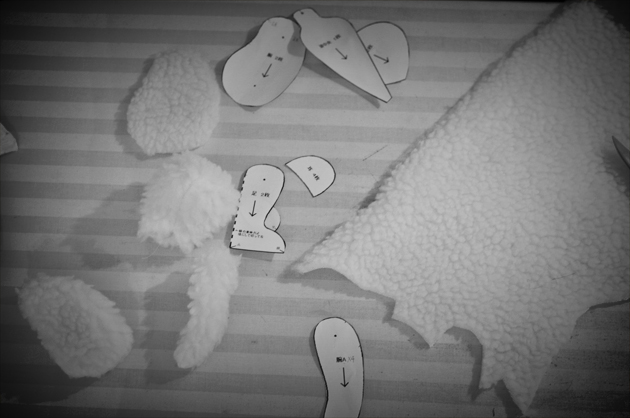
 Since I was making two of each bears (male and female), I made paper patters for the clothes. That way, I don’t have to guess the length and fit for the second time.